(US) Joining and edging Versatile Chique CAL
Versatile Chique Blanket
Yay! You made it through all 9 squares! Well done!
Now to join them. Arrange the patterns as you would like.
It is recommended to use the stitch markers or pins to pin the squares together so that you do not forget what square goes where if you are wanting them in a specific order. I arranged mine in this manner:

Joining:
Attach yarn at the ch1 space of a corner on the first square (SQ-A). CH2, HDC in the ch1 space of the corner on the 2nd square (SQ-B), CH1, skip a stitch, HDC
In next stitch on SQ-A, skip next stitch and HDC in next on SQ-B. Repeat to the end of the row in this manner. (HDC in SQ-A, skip 1 stitch HDC in SQ-B, skip 1 stitch, ch1 repeat)
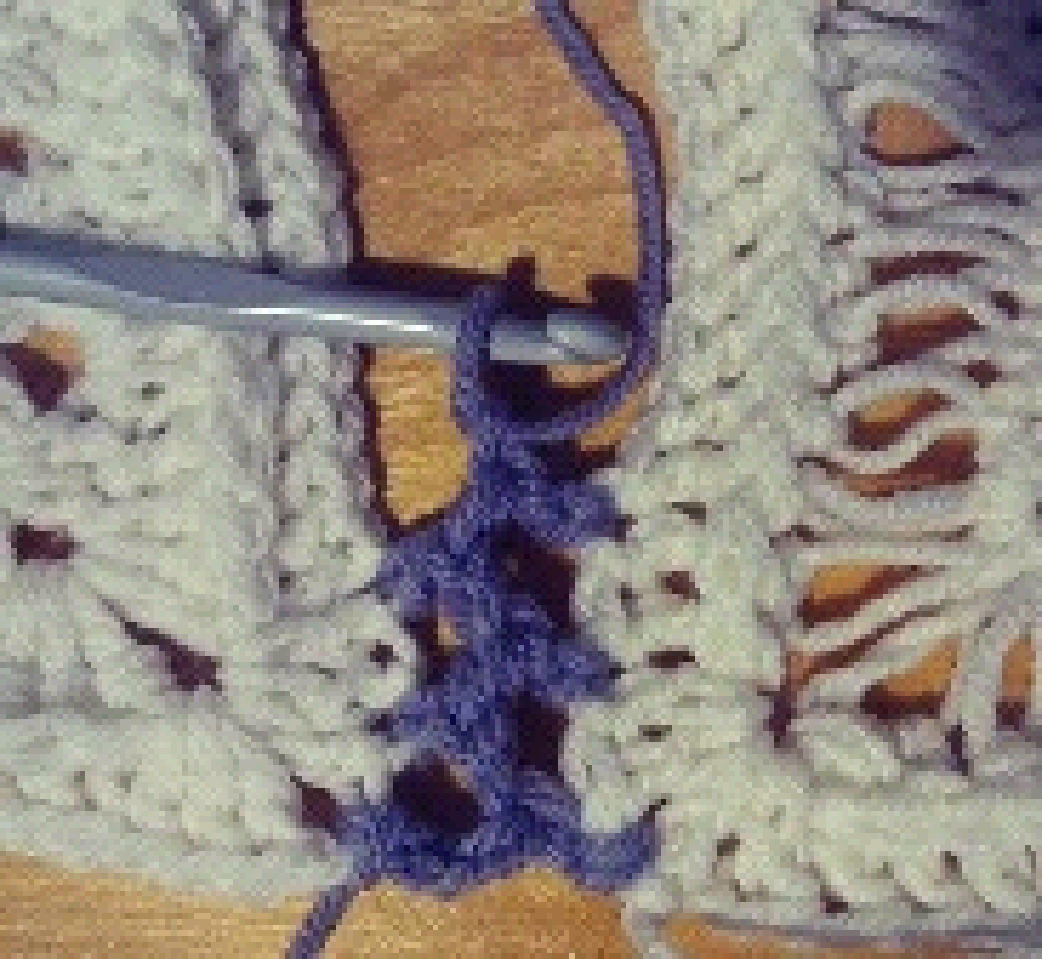
At the end of the row on the first 2 squares, you will CH1 and then HDC in the ch1 space of the corner on the next square and continue the join the next 2 squares in the same manner. you will Join 6 squares in this first seam. Fasten off at the end of the seam and weave in the end.
E
|
F
|
I
|
C
|
D
|
H
|
A
|
B
|
G
|
Attach yarn again at the chain 1 space of the bottom right corner of SQ-B and repeat the join pattern for the remaining 3 squares.
Repeat this pattern for the other 2 seams, joining the squares on the opposite seams. DO NOT break yearn at the end of the last seam. You are now ready to start edging your blanket. Yay!
Edging:
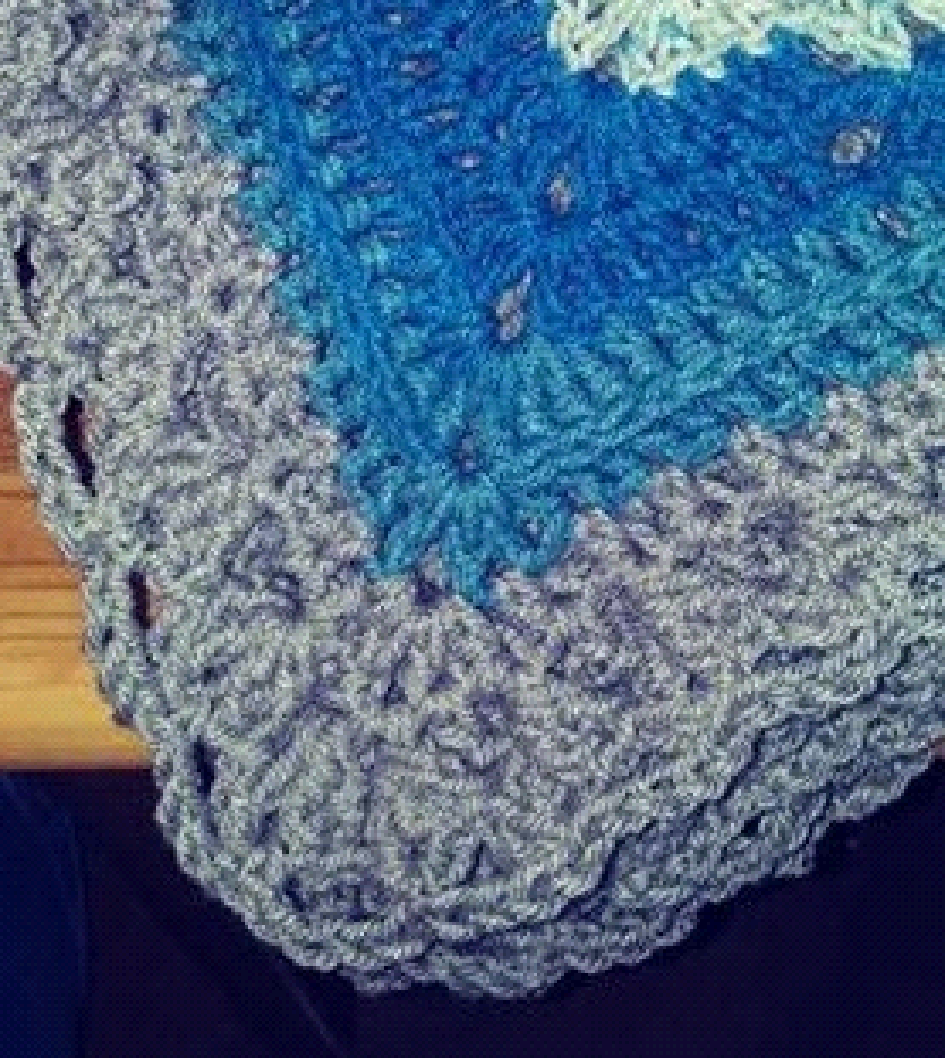
Start the edging where you completed the last joining seam.
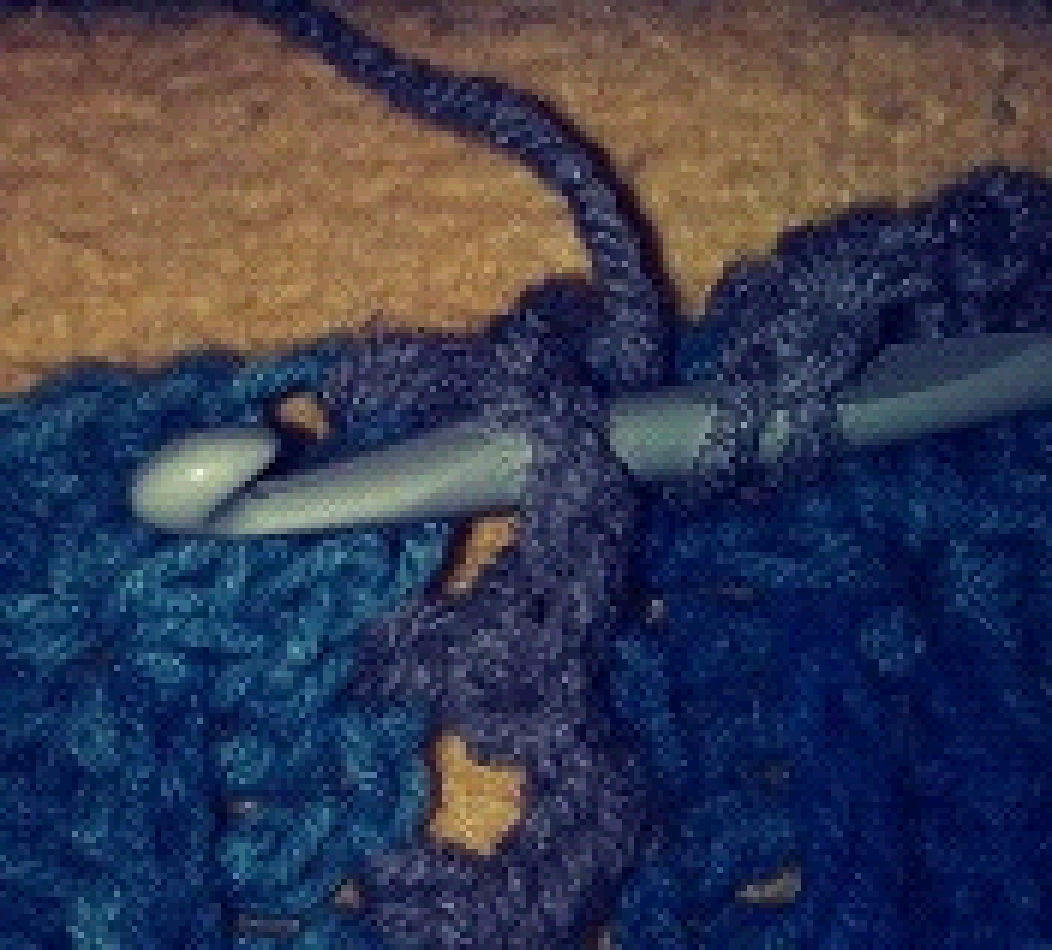
Row 1: CH 3, HDC in ch1 space of the corner of the square you are working on, CH1, skip 1 stitch, HDC in next stitch. repeat along the side.
Row 1: CH 3, HDC in ch1 space of the corner of the square you are working on, CH1, skip 1 stitch, HDC in next stitch. repeat along the side.

At the seam, FPHDC around the center post of the seam, CH1, HDC in the corner of the next square. Repeat edge pattern to the corner of the blanket. In each of the 4 corners of the blanket: (CH1, HDC, CH1, HDC, CH1, HDC, CH1 HDC, CH1) then continue to repeat the HDC, CH1, skip 1 stitch around the edge. When you reach the start, SLST to the top of ch3.
Row 2: Ch3, * skip 1 stitch, HDC in next stitch, CH1. Repeat from * to the corner, (HDC, CH1, HDC, CH1, HDC, CH1, HDC, CH1, HDC, CH1) in the center ch1 of the corner. Repeat around. Slst in top of ch3
Row 3: ch3, FPDC, ch1, 2FPDC around the 1st post, * skip a post, then (2 FPDC ch1 2FPDC) around next post. Repeat to corner and do (2FPDC ch1 2FPDC) around the 1st HDC of the corner before the ch1 space. (2FPDC, ch1, 2FPDC. Repeat from * to the end of the row and slst to top of the ch3. (164 FPDC in row - 41 FPDC clusters per side)
Row 4: slst first 3 stitches to the ch1 space of the first FPDC cluster. SC in the ch1 space, ch4 , sc in the ch1 space at the top FPDC cluster. Repeat to the end of the row, slst to first SC. Fasten off and weave in ends.
© 2018 CrochiqueNL, Marriëlle van der Gun. Toto Lewis, All rights reserved. This pattern is for personal use only. The pattern or parts of the patterns cannot be multiplied or republished in any way, or be altered or sold. The finished product of this pattern may be sold.
For questions please contact: crochique.nl@gmail.com


Comments
Post a Comment